 Start Here
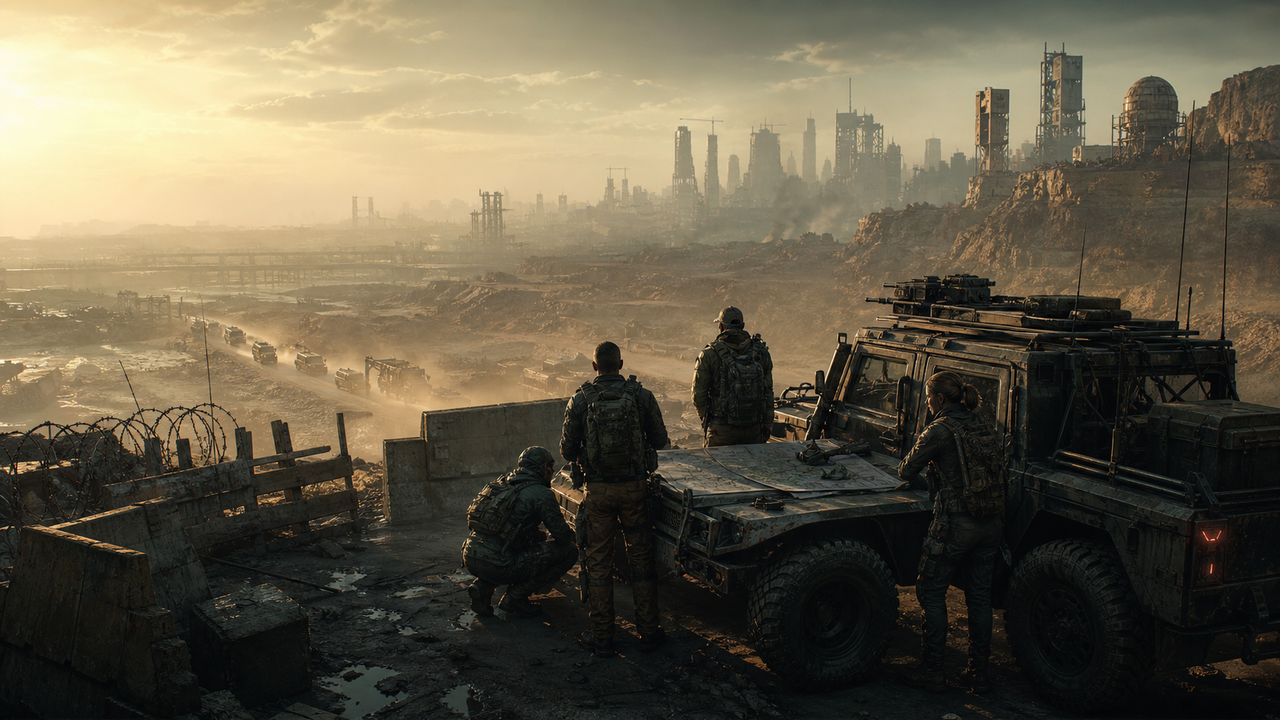
WARDOGS Beginner Guide: play the objective before the scoreboard
A first-read guide to cash, vehicles, support actions, randomized control zones, and the discipline of leaving bad fights early.
 WARDOGSGuide
Start with first-session basics, then move into systems, loadouts, map routes, advanced squad play, and comparison questions.
Start HereA first-read guide to cash, vehicles, support actions, randomized control zones, and the discipline of leaving bad fights early.
 Start Here
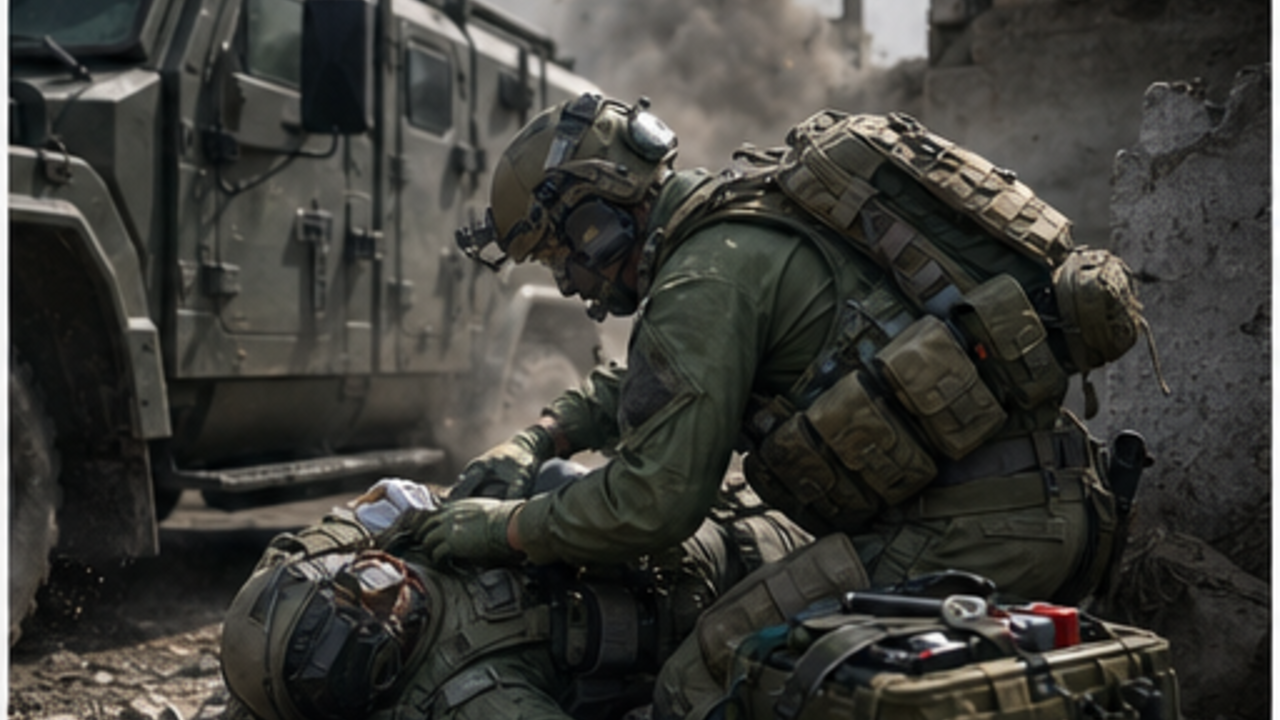
A role guide for new players choosing objective lead, support, breacher, transport driver, or anti-vehicle duty.
 Start Here
A day-one learning route for squads that need to understand spawn discipline, cash, vehicles, and control-zone timing.
 Start Here
A PC prep page for WARDOGS system requirements, Easy Anti-Cheat notes, official signup paths, and safe playtest habits.
 Start Here
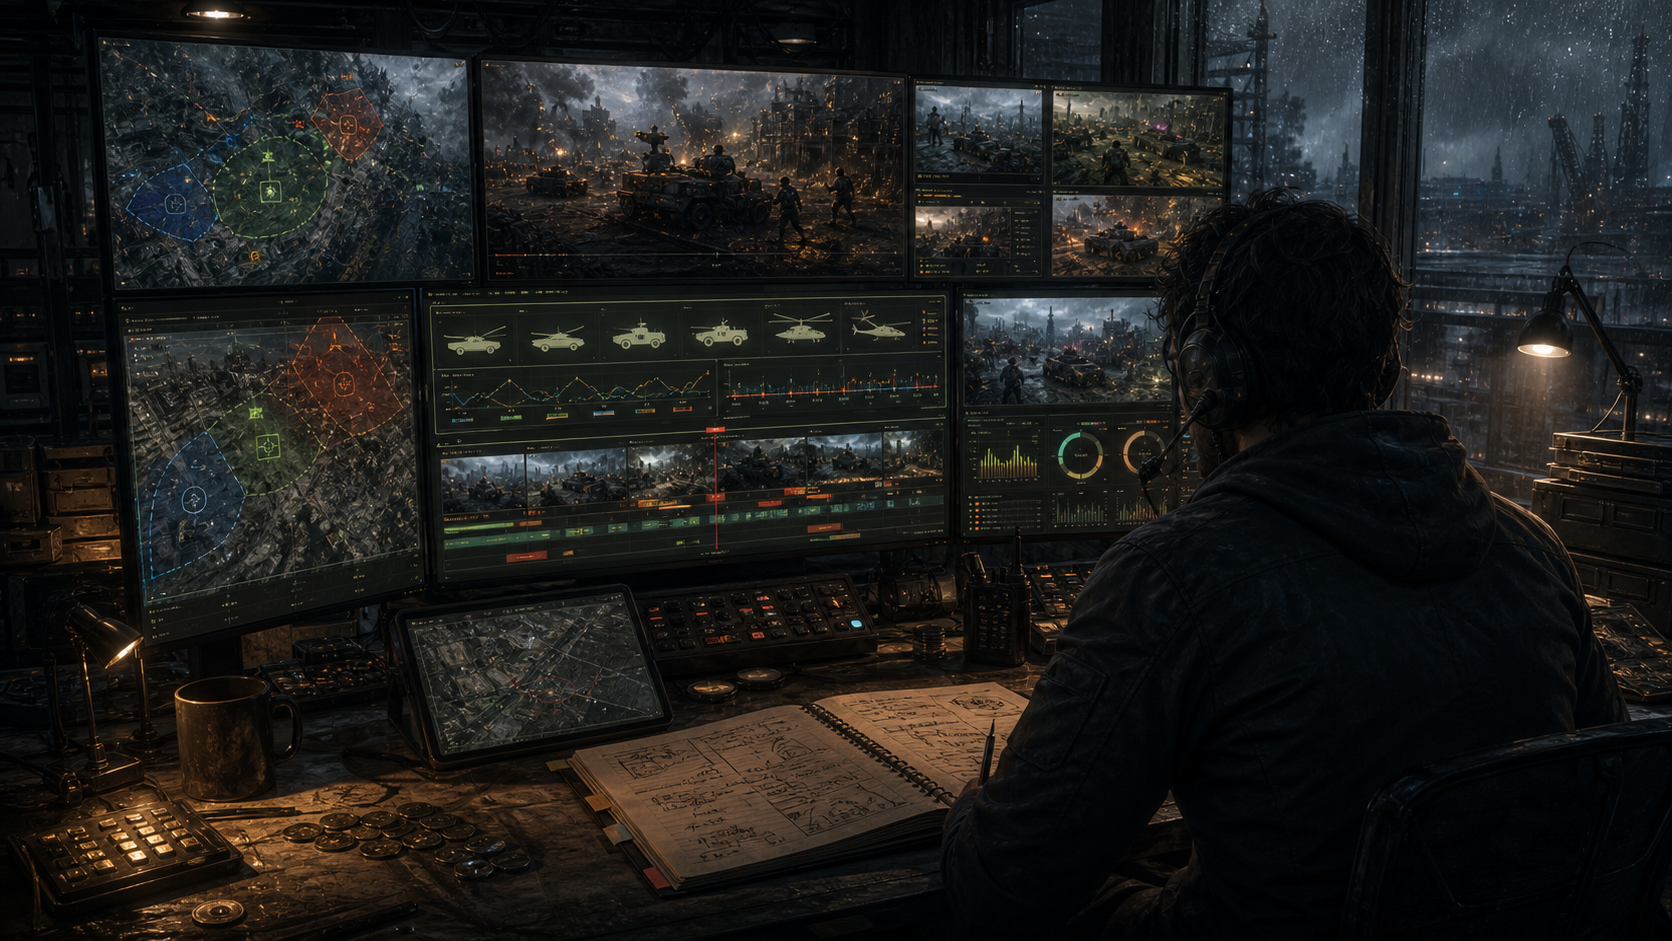
How to track official WARDOGS playtest access without falling for fake keys, mirrored installers, or social download traps.
 Systems
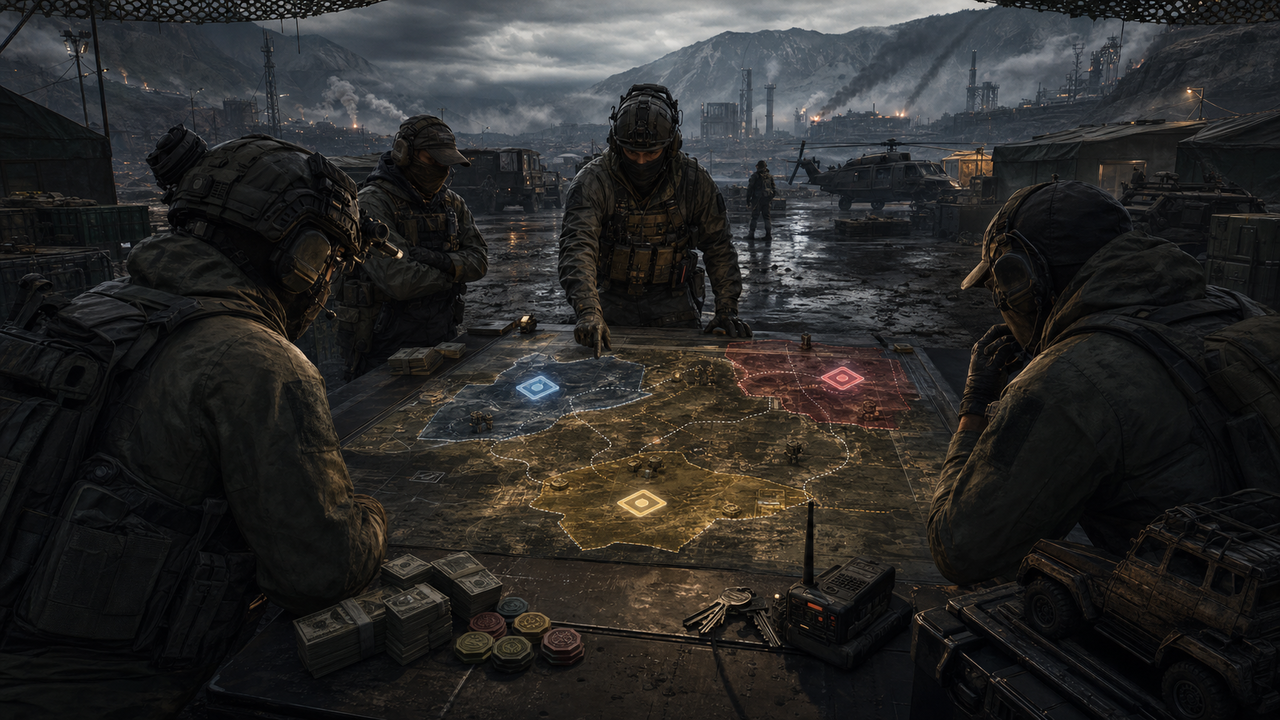
How to think about earning, saving, and spending cash without wasting the squad's next respawn.
 Systems
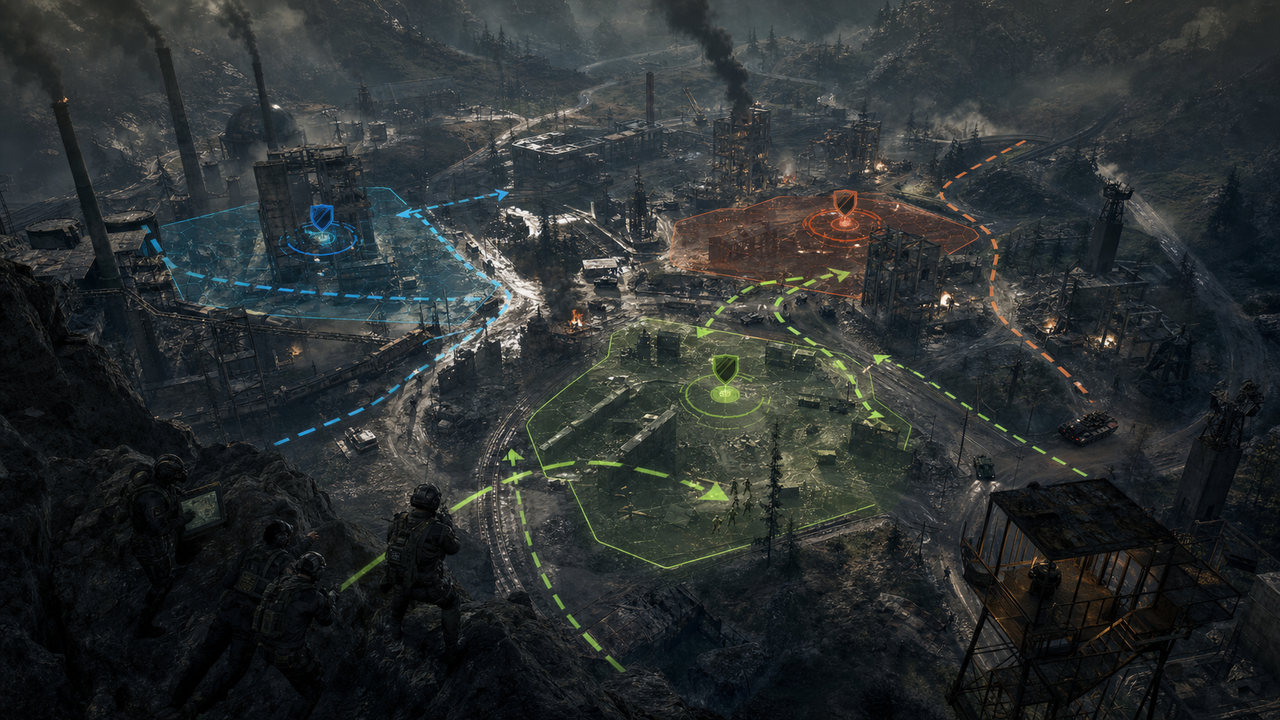
Randomized control zones reward squads that disengage early enough to arrive organized.
 Systems
A source-aware guide to how building, cover, and destruction could change route control.
 Systems
A high-intent economy guide for understanding persistent cash, support rewards, loadout timing, and why useful actions can beat raw kill chasing.
 Systems
A decision guide for saving, buying utility, investing in anti-vehicle tools, or staying cheap for the next control zone.
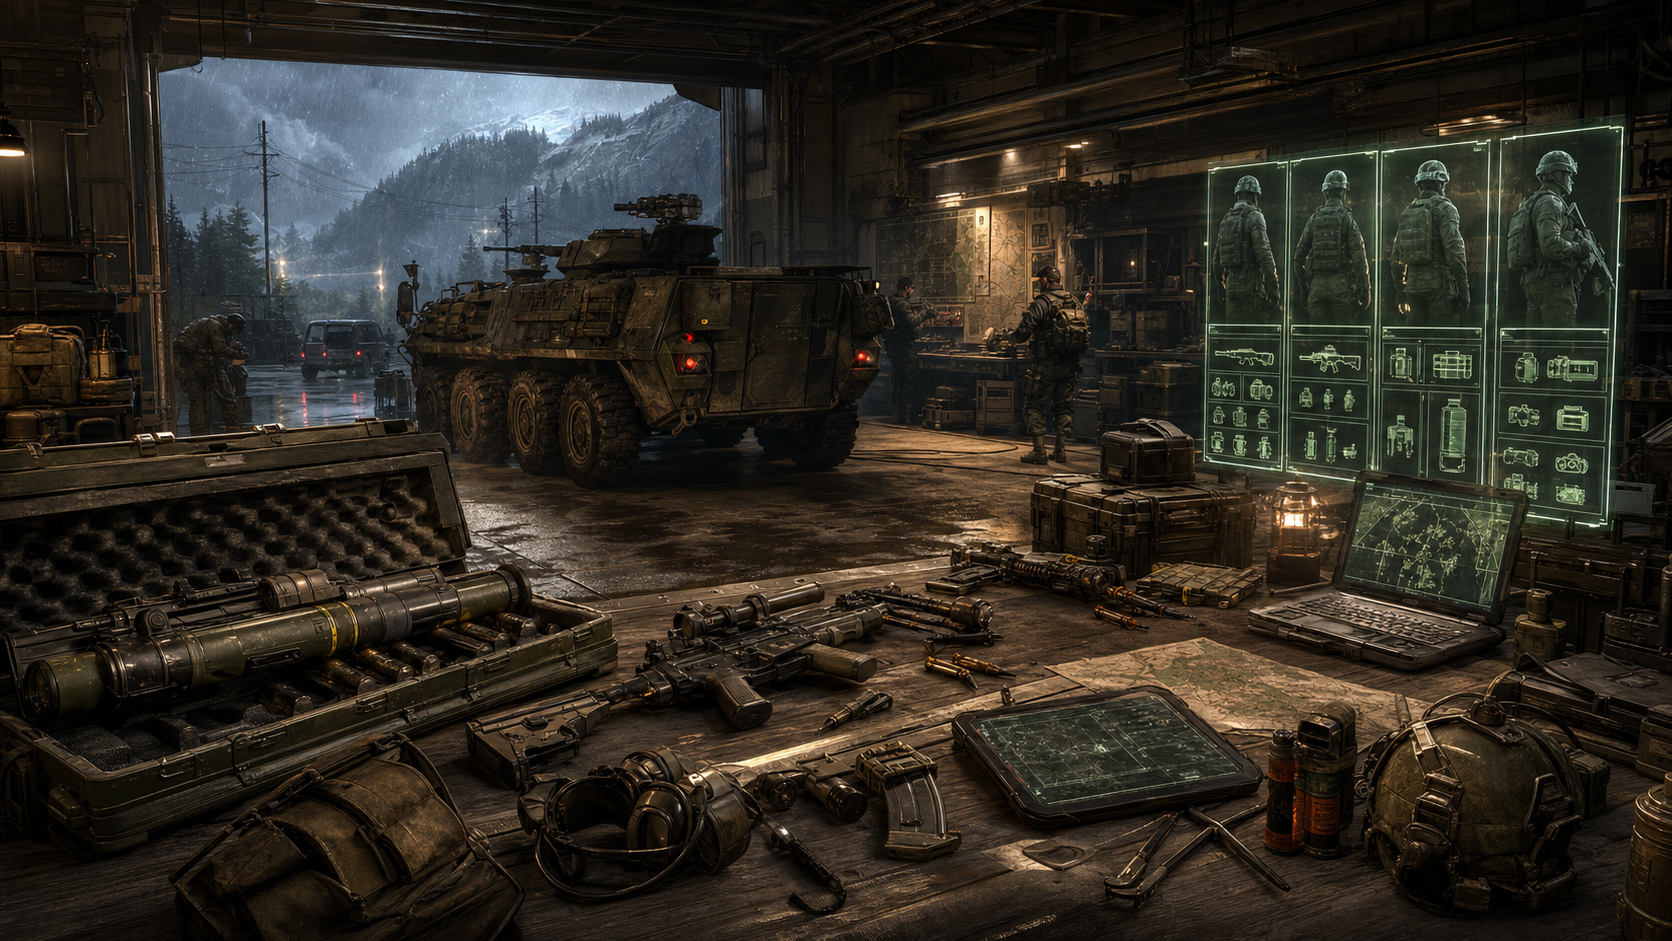 Loadouts & Vehicles
A pre-launch weapon planning guide for rifle kits, support tools, anti-vehicle counters, breacher choices, and budget loadout discipline.
 Loadouts & Vehicles
A role-first weapon guide for rifle players, breachers, support, anti-vehicle duty, and transport-focused squads.
 Loadouts & Vehicles
A pre-Early Access loadout framework for deciding when to stay cheap, when to buy utility, and when to invest in anti-vehicle pressure.
 Loadouts & Vehicles
Vehicles are strongest when they solve movement and pressure, not when they farm disconnected kills.
 Loadouts & Vehicles
When to stay mounted, dismount, escort armor, rotate on foot, or abandon a doomed vehicle fight.
 Loadouts & Vehicles
A support-focused guide for squads using helicopters, transport timing, extraction from bad lanes, and logistics roles to win objectives.
 Maps & Routes
How to read urban blocks, cover chains, destruction windows, vehicle lanes, and support-safe revive routes.
 Maps & Routes
A macro guide for reading randomized zones, transport windows, third-team pressure, and the moment to leave.
 Maps & Routes
A tactical guide to the 2x2km active fight space, control-zone timing, three-team pressure, and why arriving organized beats chasing kills.
 Maps & Routes
A macro page for understanding WARDOGS' large battlefield promise, transport lanes, staging choices, and how wide terrain supports focused objectives.
 Maps & Routes
A cash-first decision guide for deciding whether to contest high-value zones or rotate away before the lobby collapses.
 Advanced Operations
A veteran-focused guide to three-team rotations, cash preservation, support tempo, vehicle timing, and leaving fights before the map punishes you.
 Advanced Operations
A source-safe watchlist for role and skill planning before official class names, cooldowns, progression values, and balance tables are final.
 Advanced Operations
A detailed support guide for revives, transport calls, utility timing, cash value, and how to keep squads alive through bad fights.
 Advanced Operations
A building-systems guide for using cover, field positions, destructible spaces, and temporary FOB logic without wasting time away from the objective.
 Advanced Operations
A competitive settings page for large fights, vehicle pressure, urban visibility, and stable frames before Early Access.
 Comparisons
A comparison for players evaluating modern large-scale shooters by vehicles, objectives, support value, and match commitment.
 Comparisons
A search-focused explainer for players confused by the 100-player pitch, clarifying WARDOGS' objective warfare, cash, vehicles, and three-team structure.